Paintless dent repair (PDR) isn’t just for cars and trucks. With the right setup and approach, it can also be an effective solution for motorcycle components like tanks and fenders, especially when preserving original paint and metal is a priority.
In this video, we’re working on a Harley-Davidson Springer front fender that came in off the bike as part of a larger reconditioning project. The goal was to remove a couple of small but noticeable dings while keeping the fender’s shape clean and ready for final paint correction.
The Challenge: Mounting a Motorcycle Fender for PDR
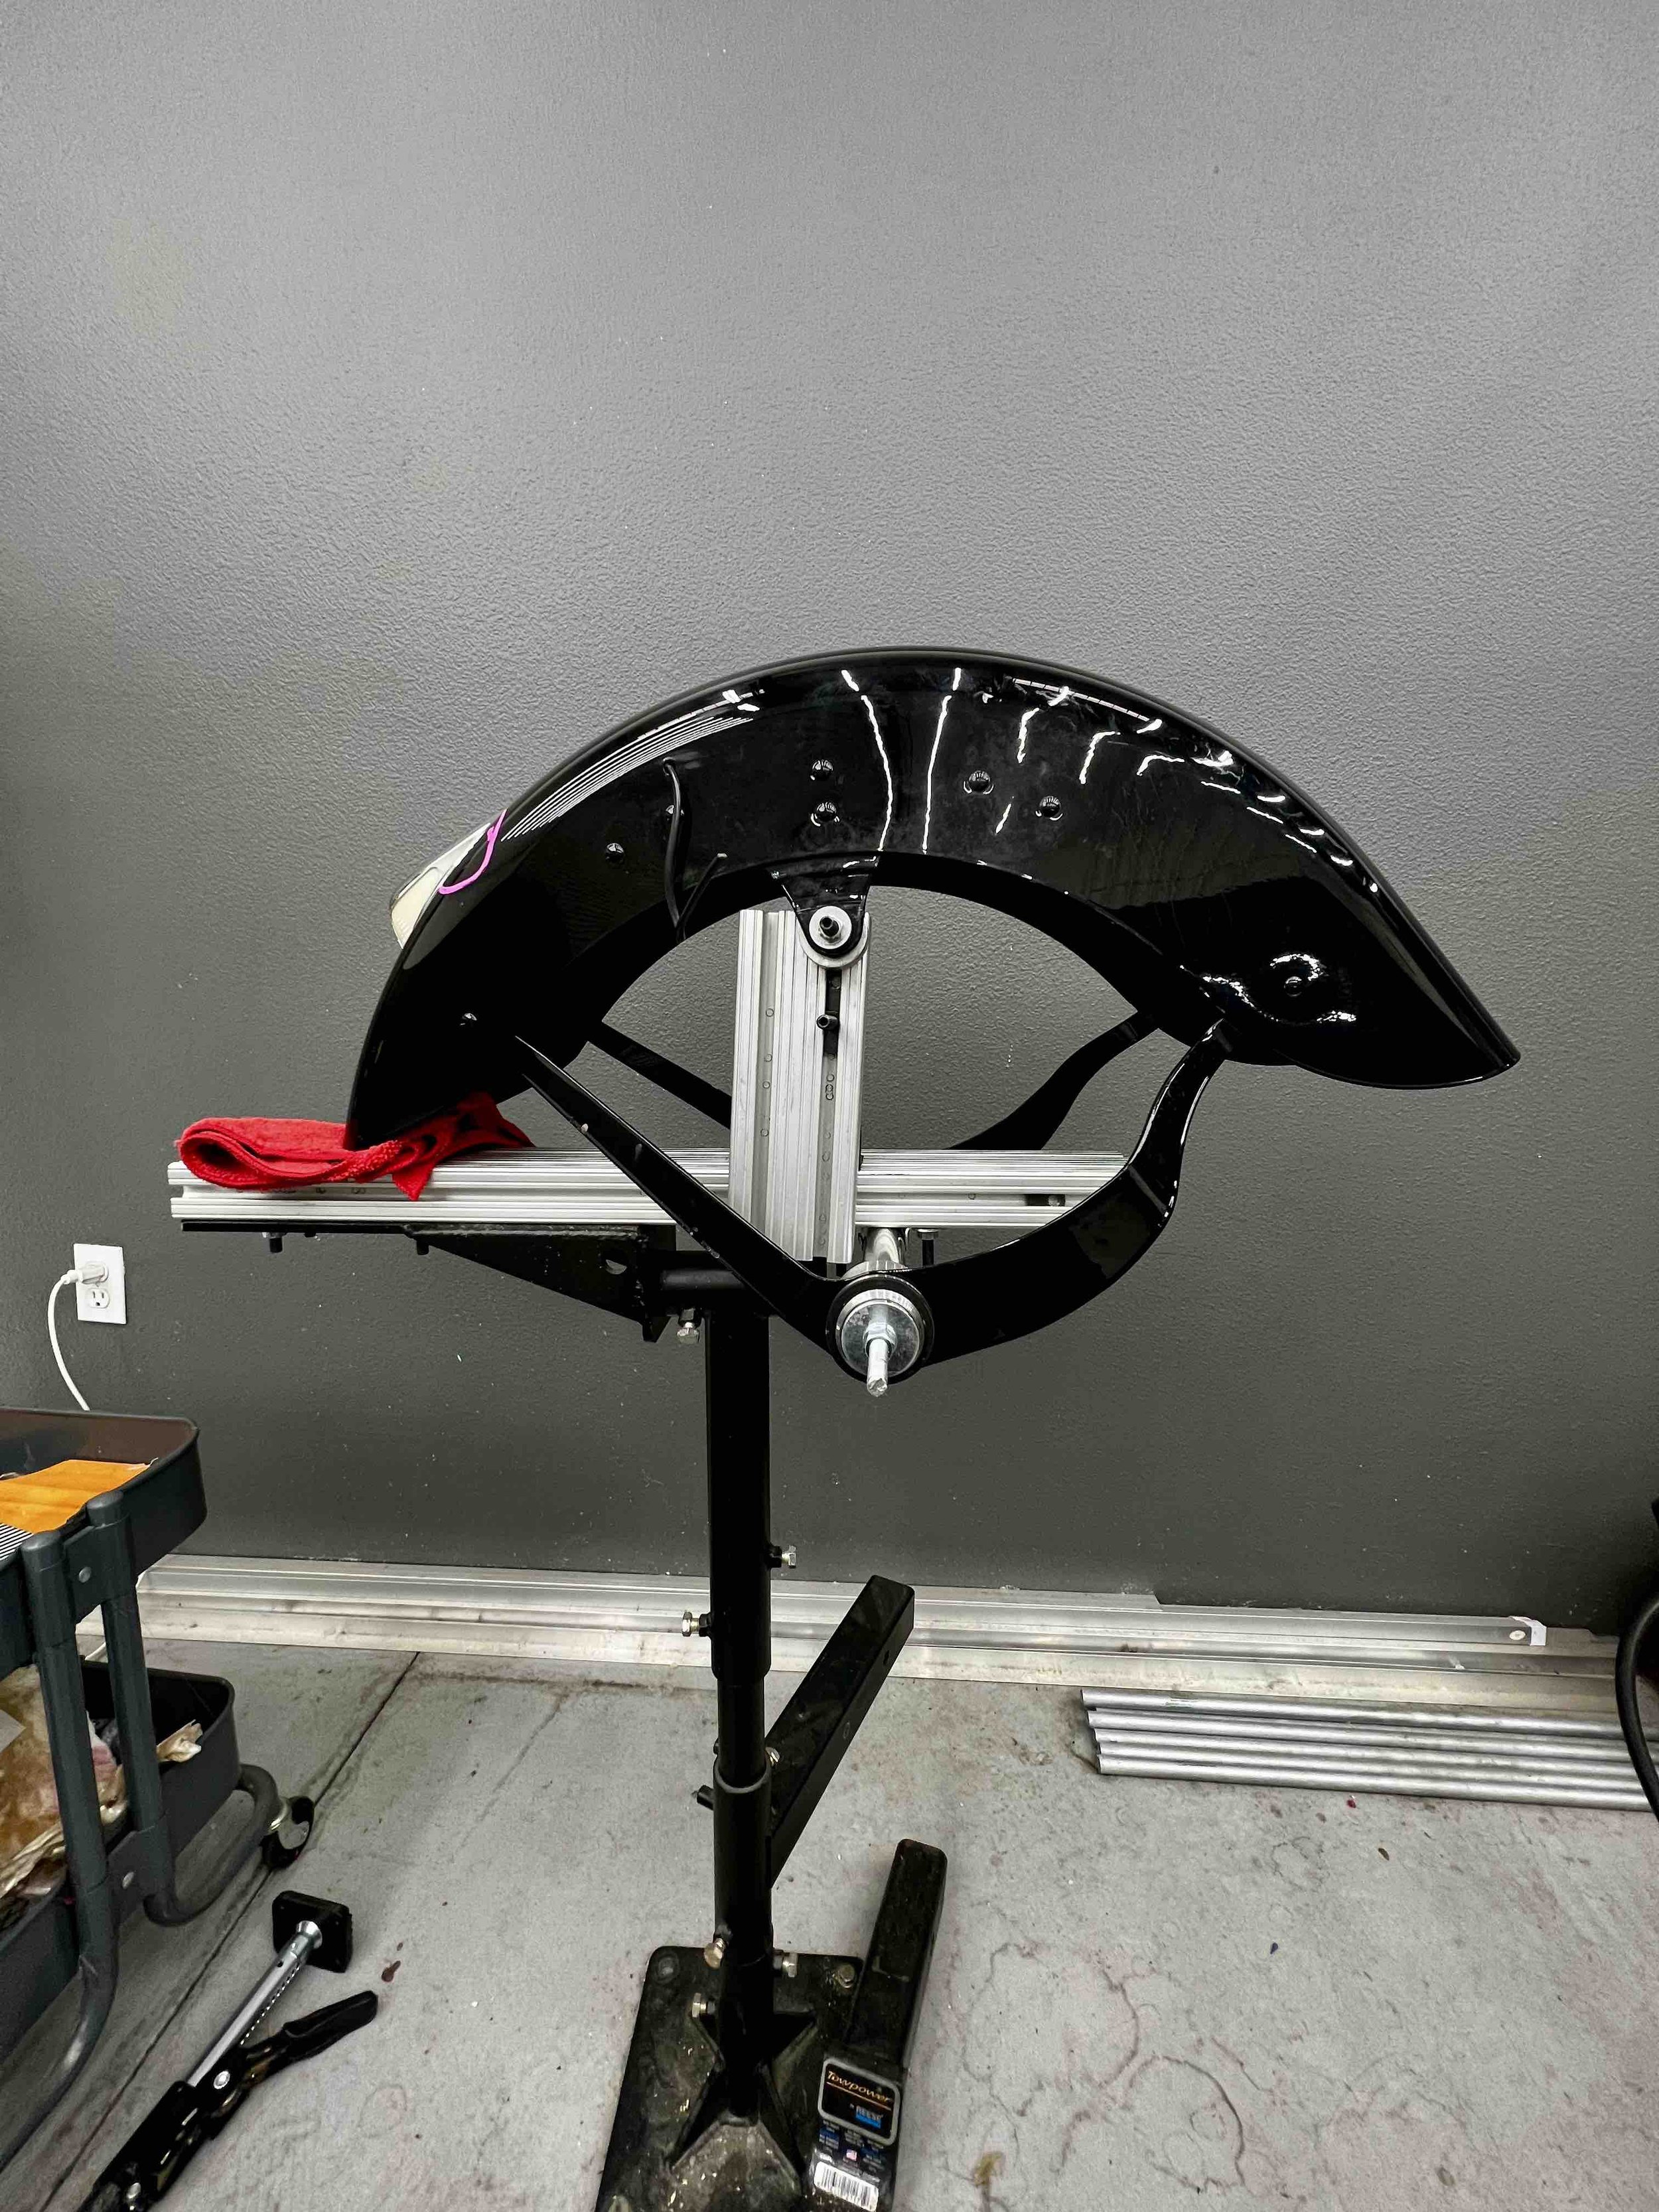
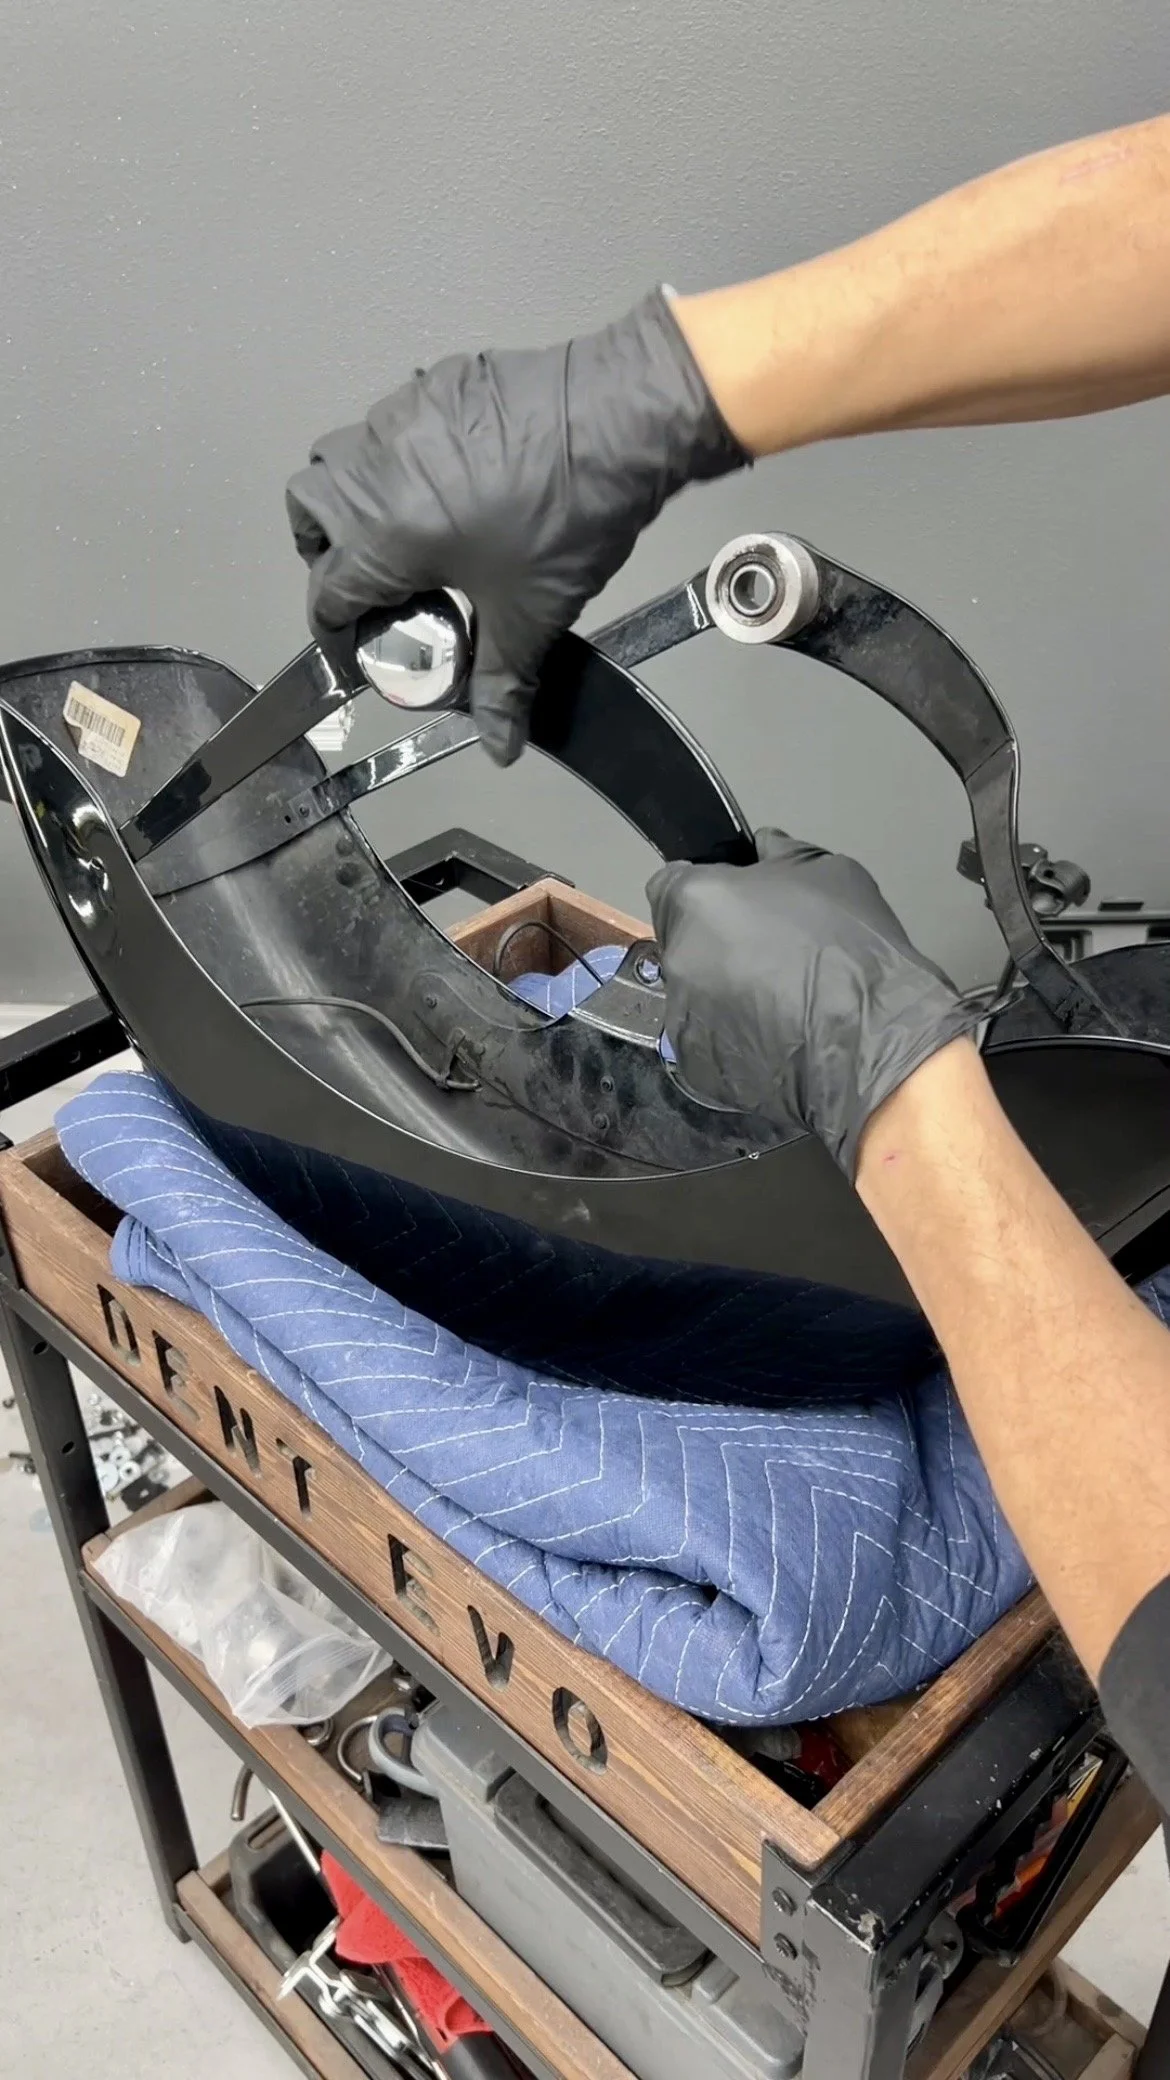
Most motorcycle fenders are mounted to the bike using multiple bolt points, which can sometimes be used during repair. In this case, the fender was removed and had very limited mounting points, making stability the primary challenge.
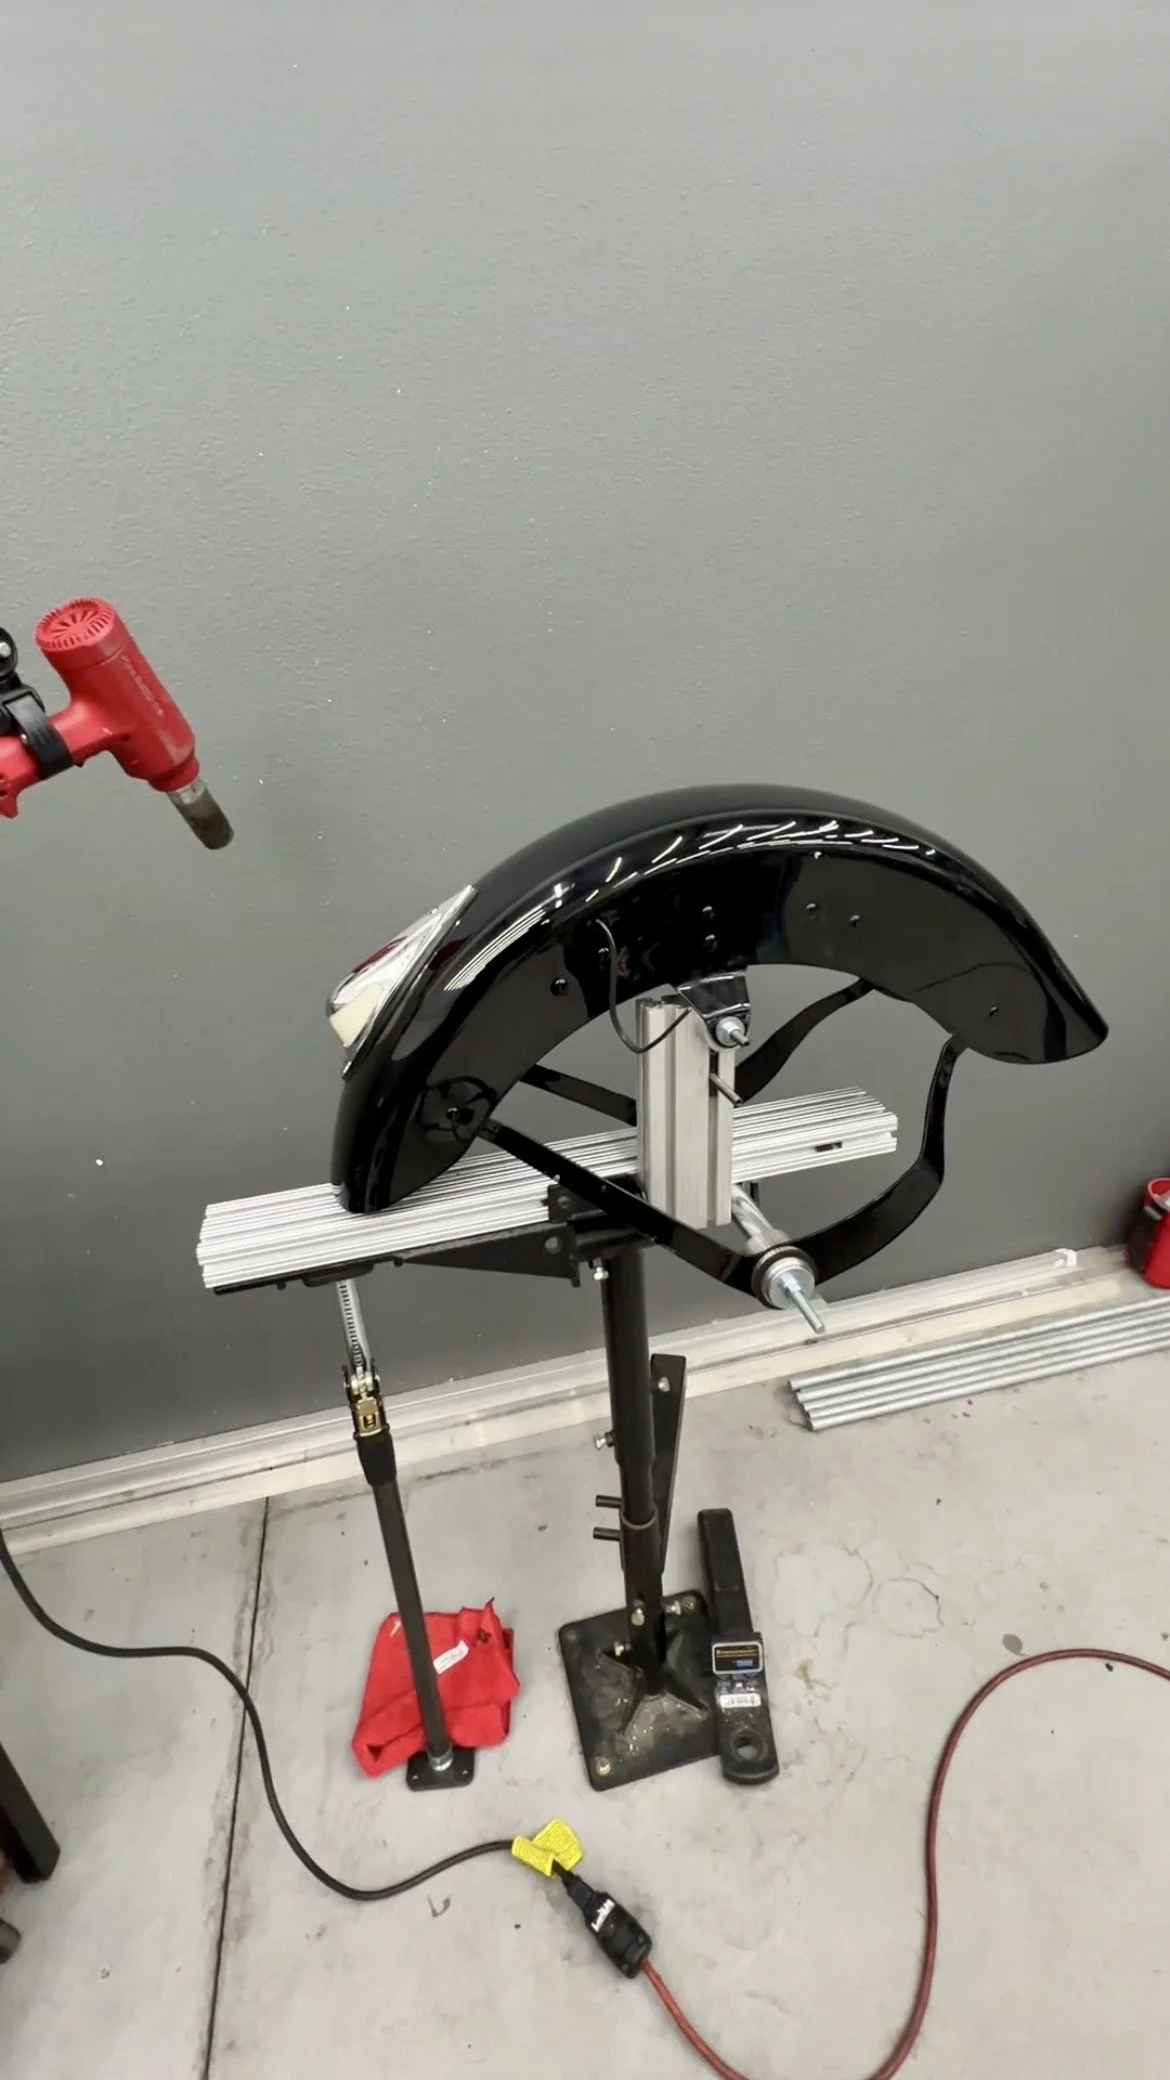
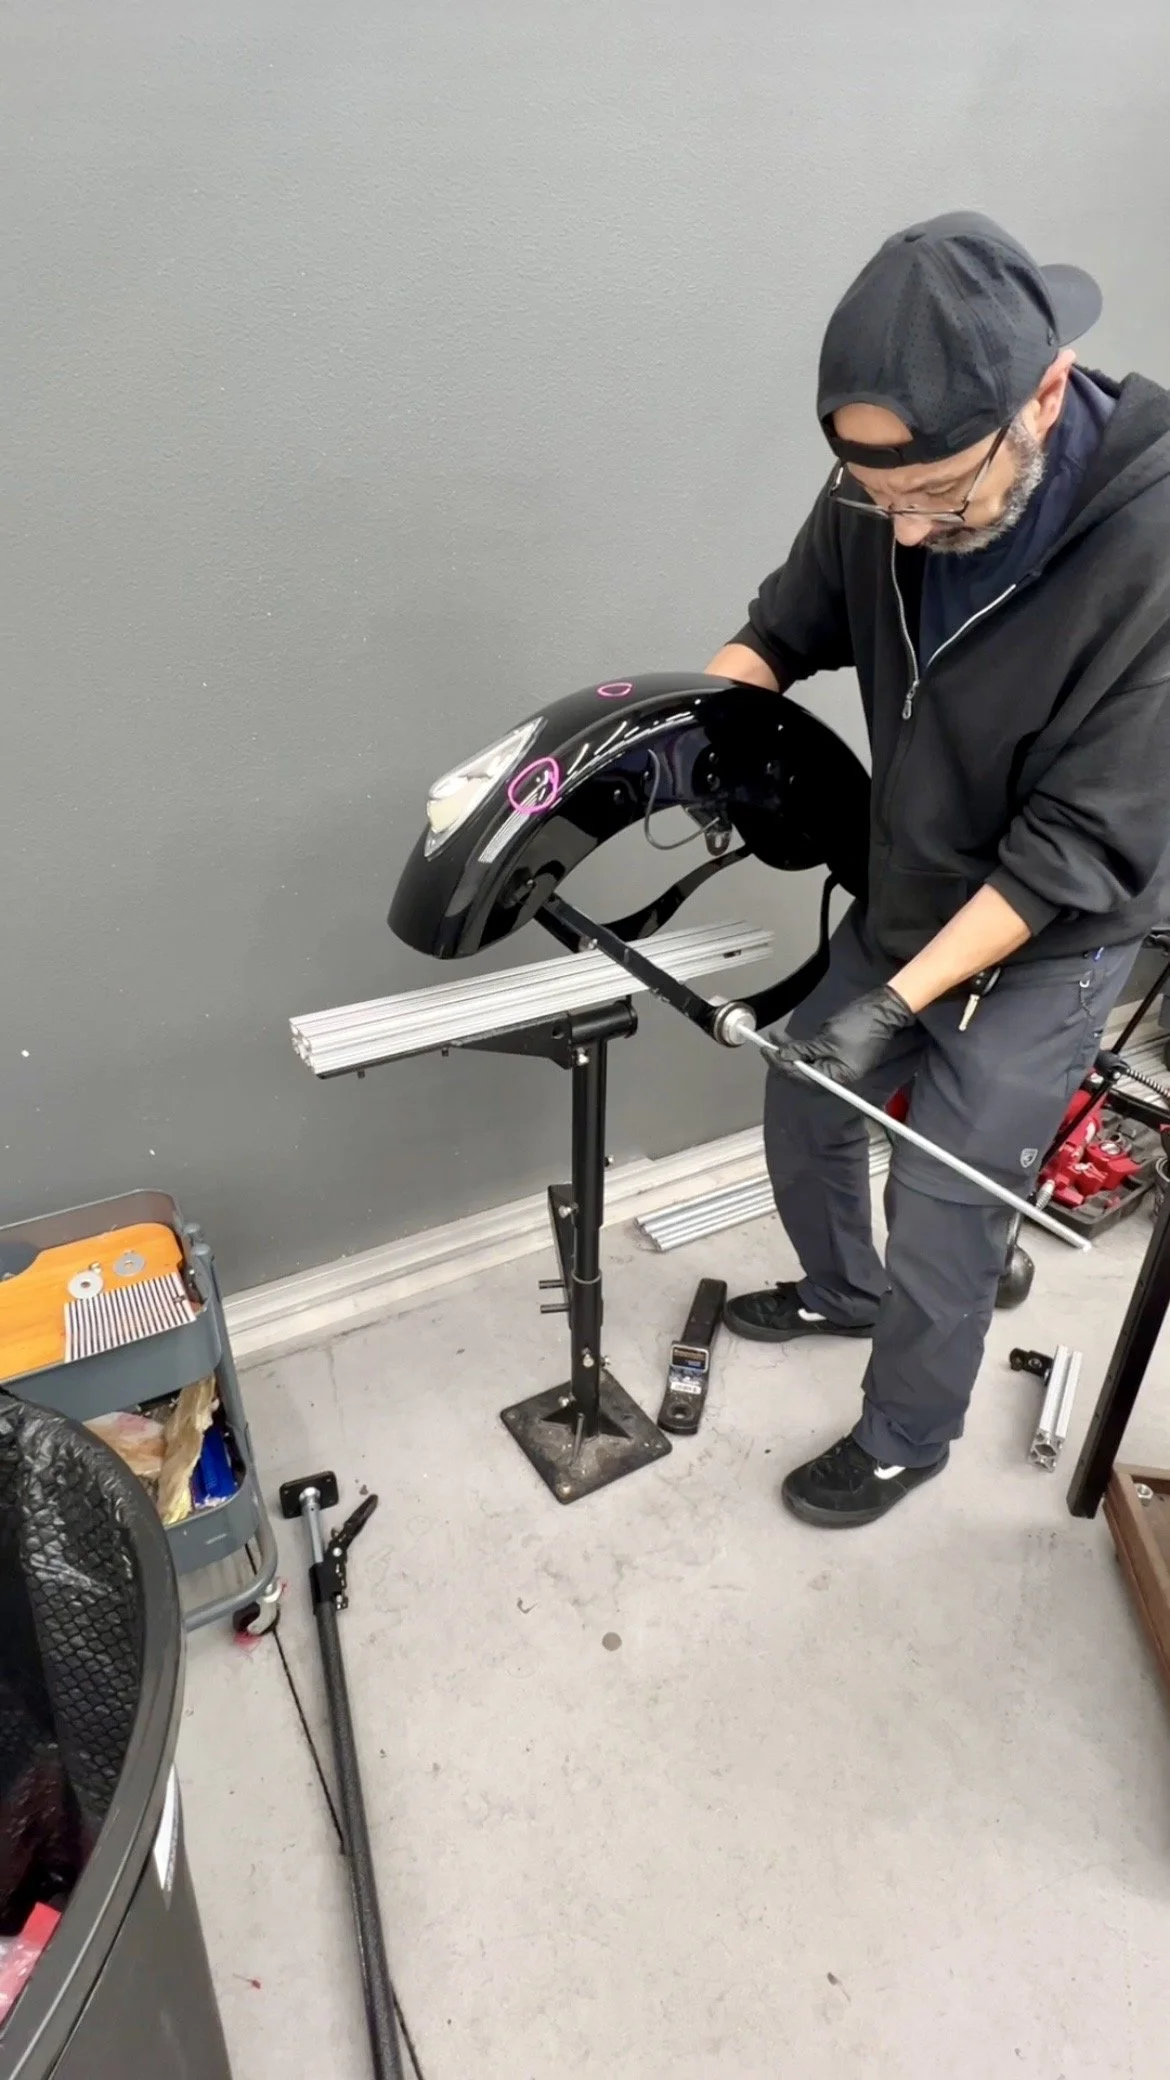
To solve this, the fender was carefully secured to a tank vice using a custom mounting setup. This provided the rigidity needed to apply controlled pressure during the repair without risking instability or loss of accuracy.
The Repair Process
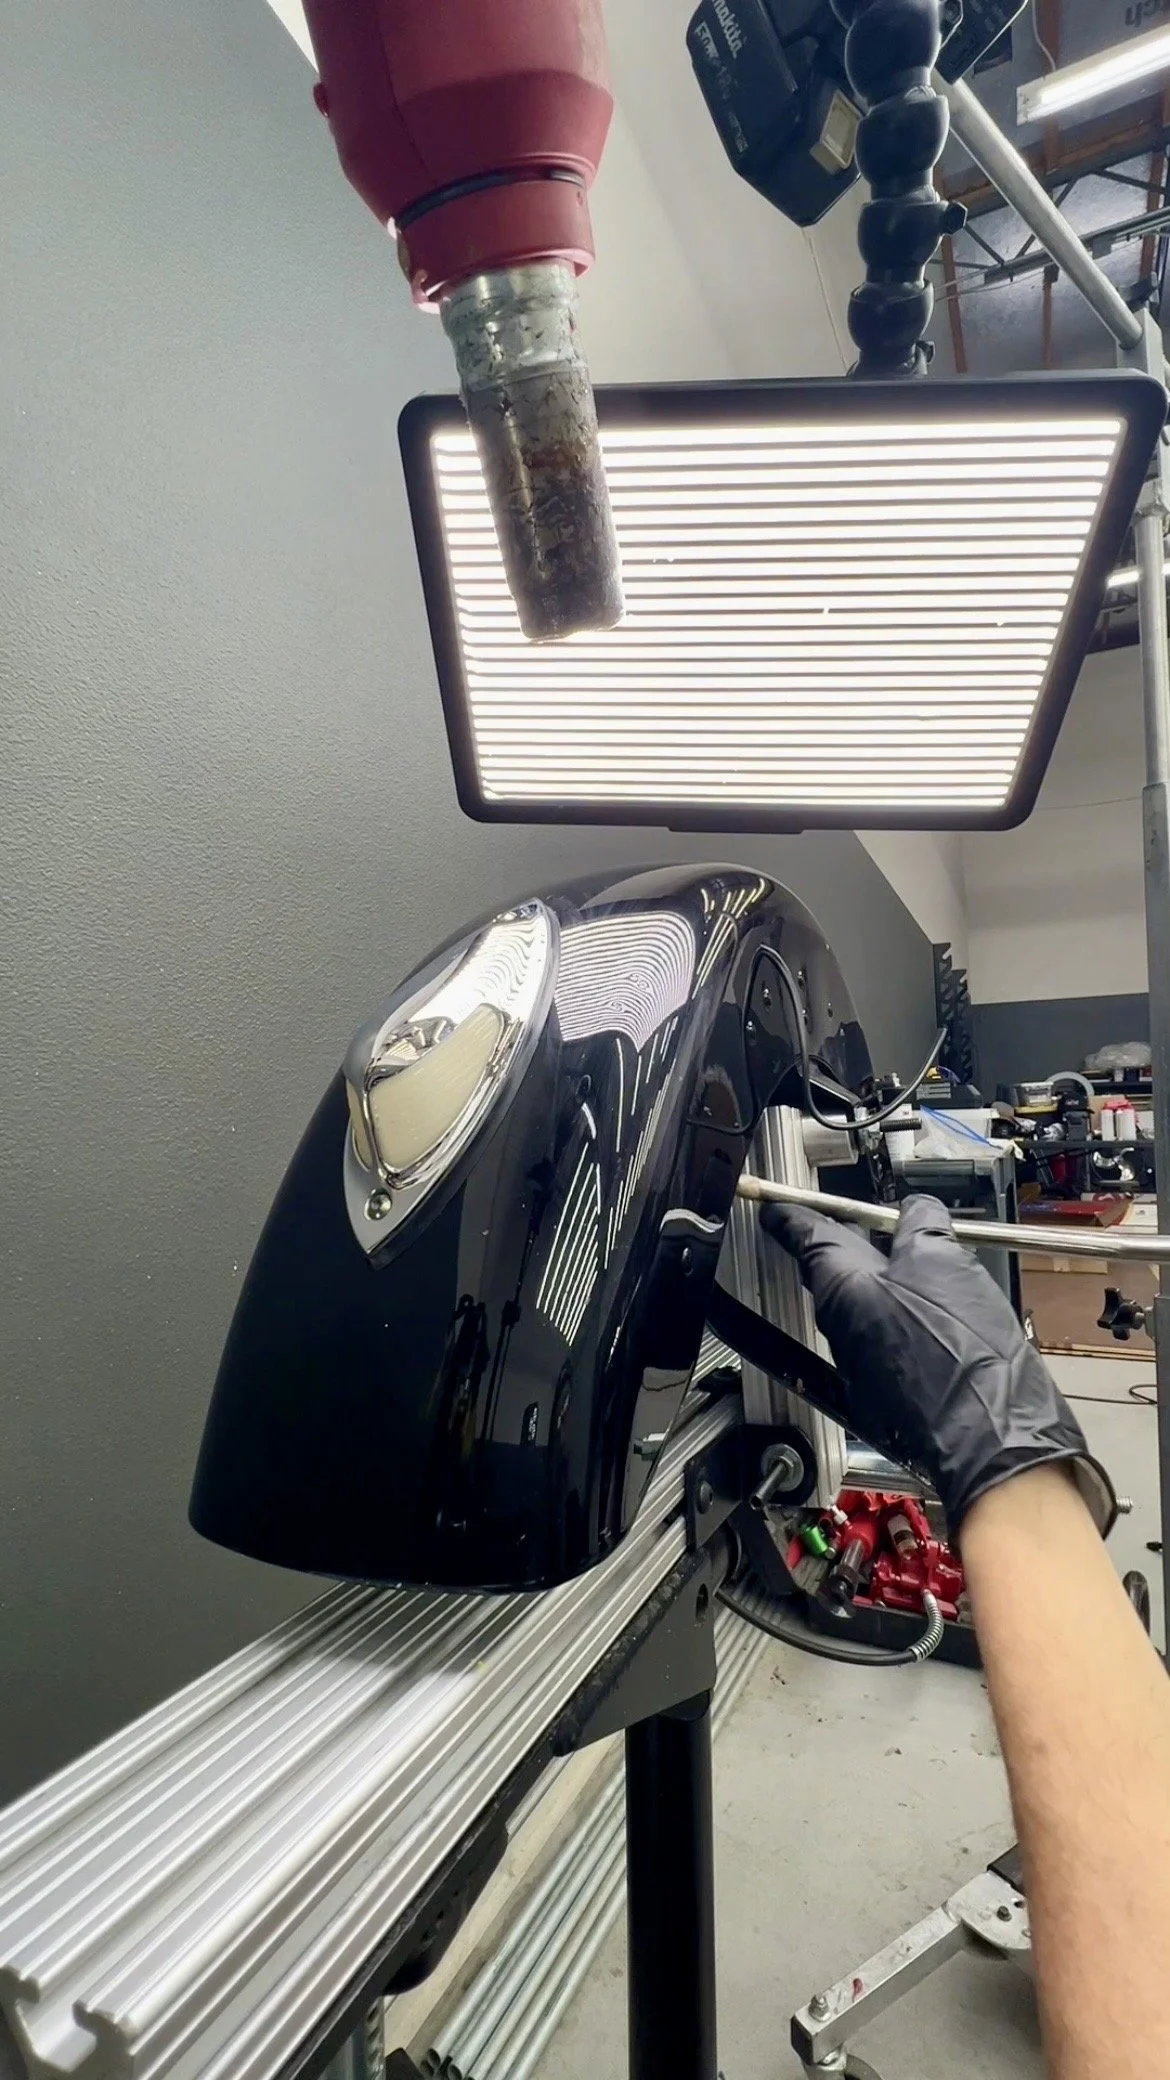
Once properly mounted, the dents were addressed using paintless dent repair techniques designed for thick, curved motorcycle tanks and fenders. These types of repairs require patience and precision, as motorcycle fenders are far more stubborn than automotive body panels.
The focus here wasn’t speed—it was control. Each adjustment was made gradually to restore the metal’s original contour without stressing the paint or creating secondary distortions.
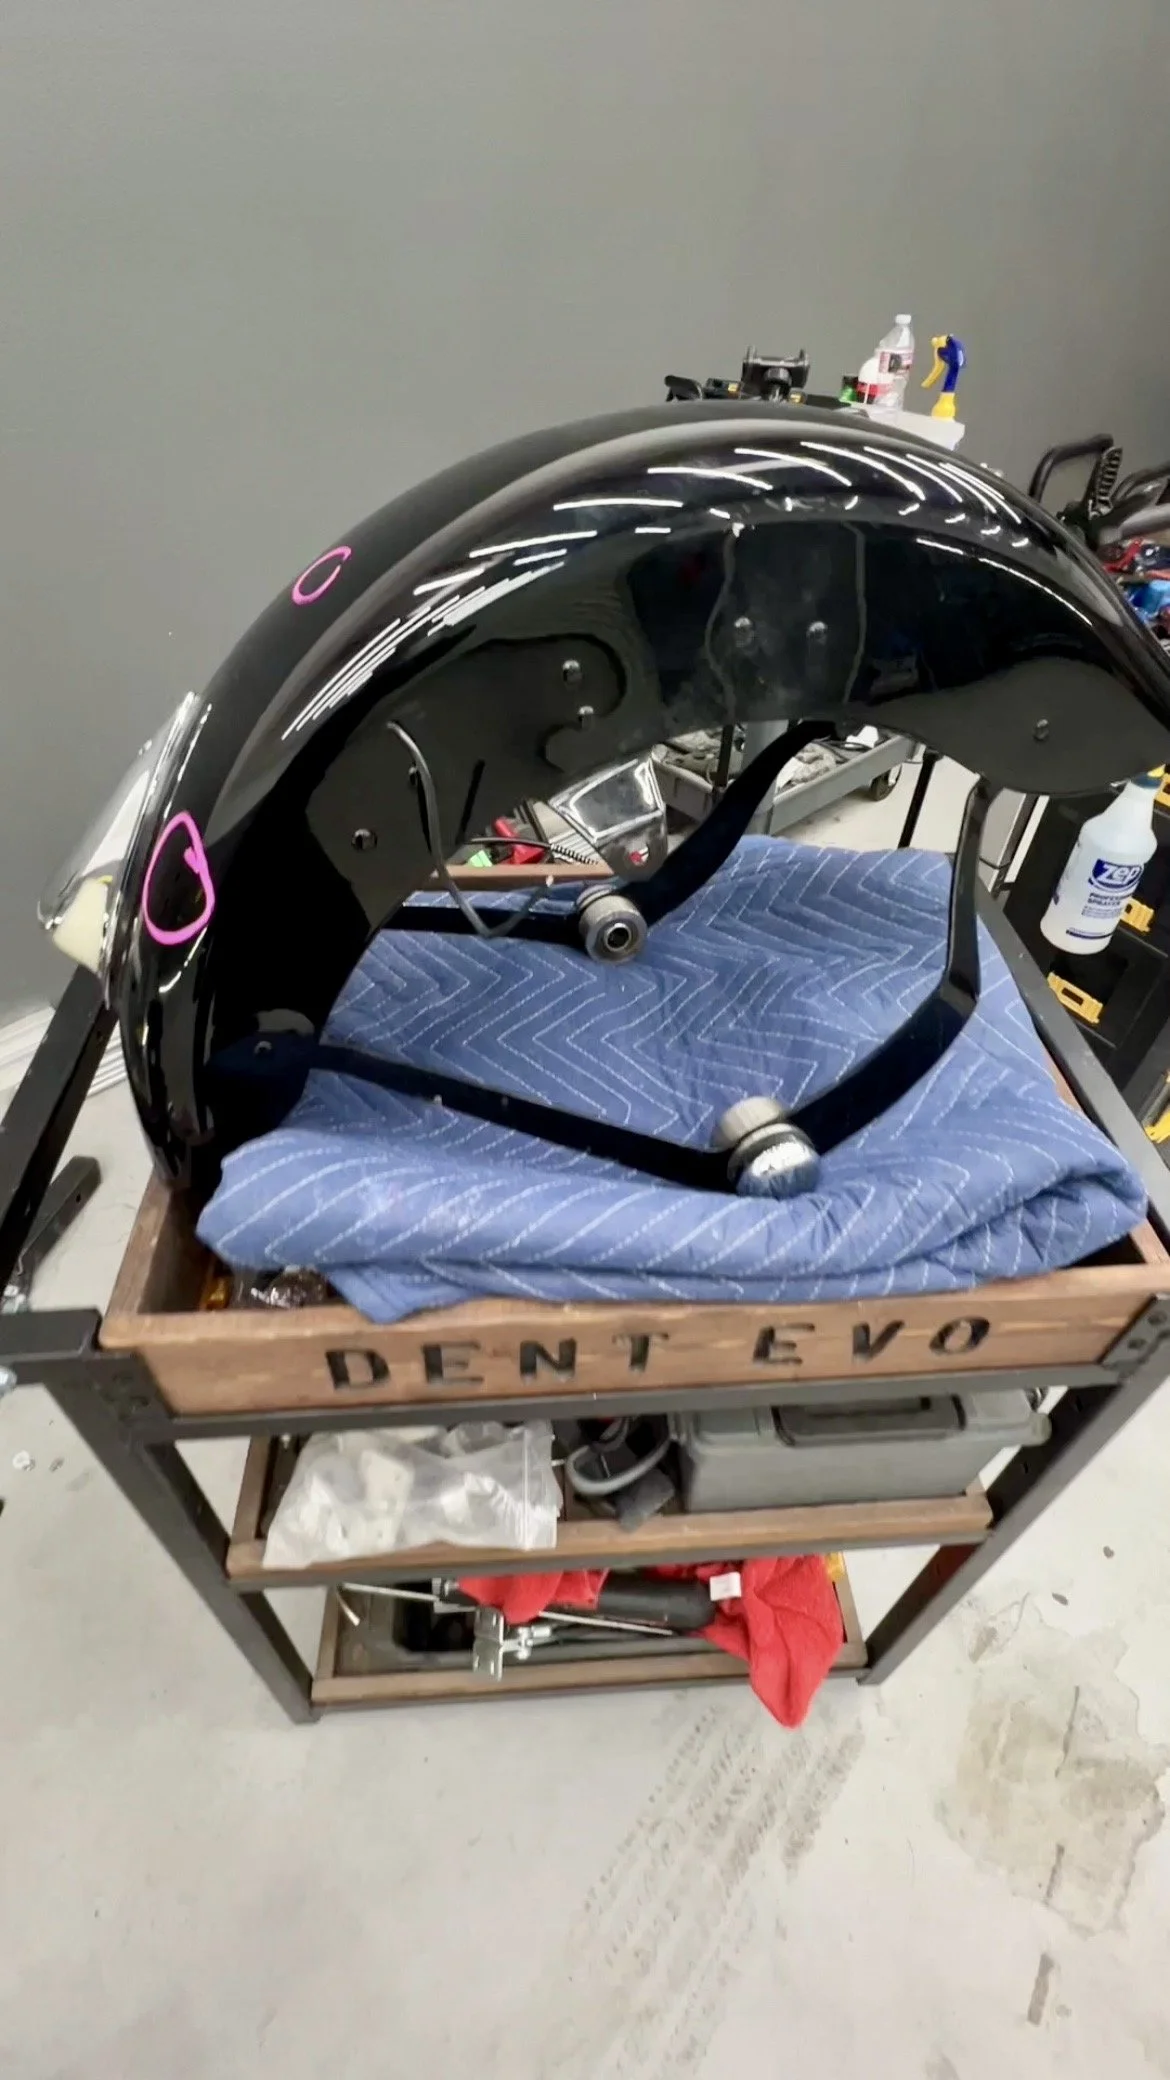
The Result
The dings were successfully removed, leaving the fender straight and uniform. With the metal corrected, the part is now ready to move on to paint correction before being reinstalled on the bike.
When Does Motorcycle PDR Make Sense?
Motorcycle paintless dent repair can be a great option when:
• The paint is still intact
• The damage is shallow or moderate
• Preserving original components matters
• Replacement parts are expensive or hard to source
As with all PDR work, suitability depends on access, metal thickness, and how the part is mounted or supported during repair.
Serving More Than Just Cars
At Dent Evo, we regularly work on cars, trucks, classic vehicles, and motorcycles, adapting our process to the demands of each project. Whether it’s a modern daily driver or a specialty component like a motorcycle fender, the approach remains the same: careful evaluation, controlled metal movement, and respect for the original finish.
If you have a motorcycle part with dents and want to know whether paintless dent repair is a good fit, we’re always happy to take a look.
📍 Dent Evo – Upland, California
Advanced Paintless Dent Repair for cars, trucks, classics, and motorcycles